To Dance with the Light





To Dance with the Light
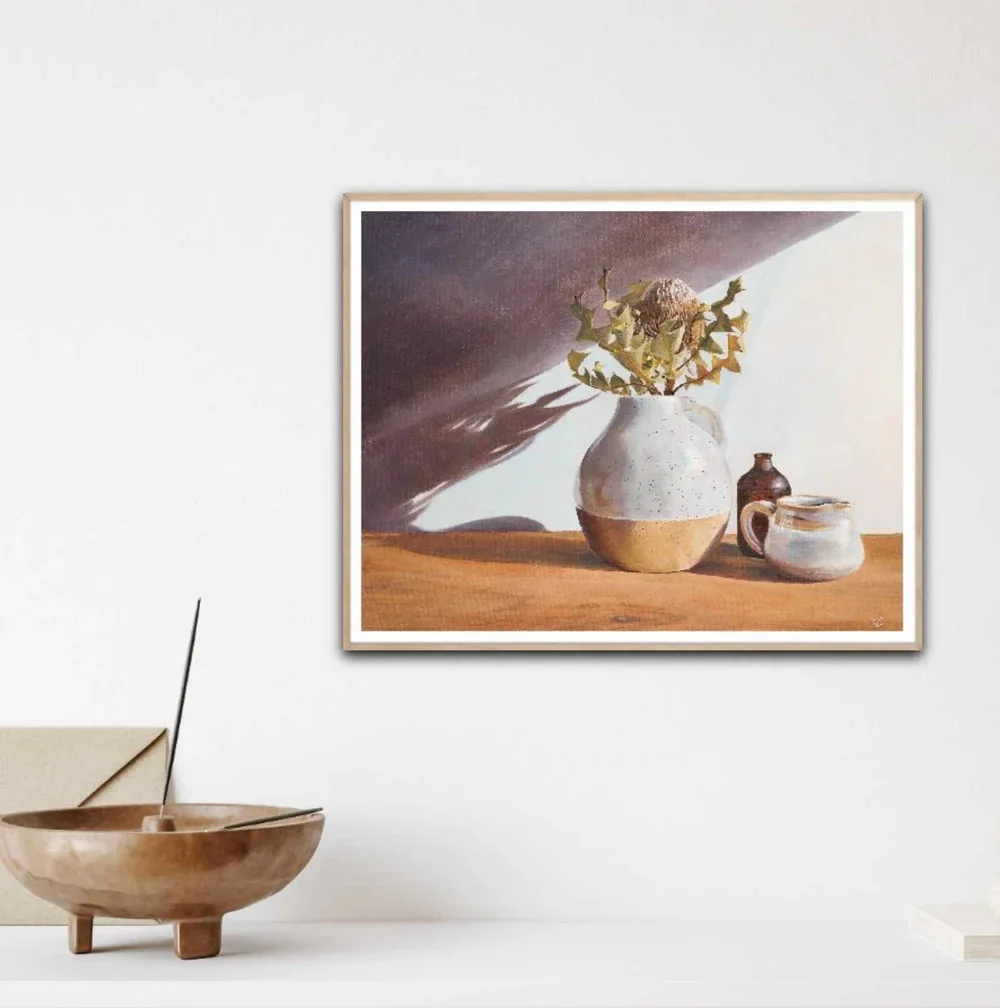
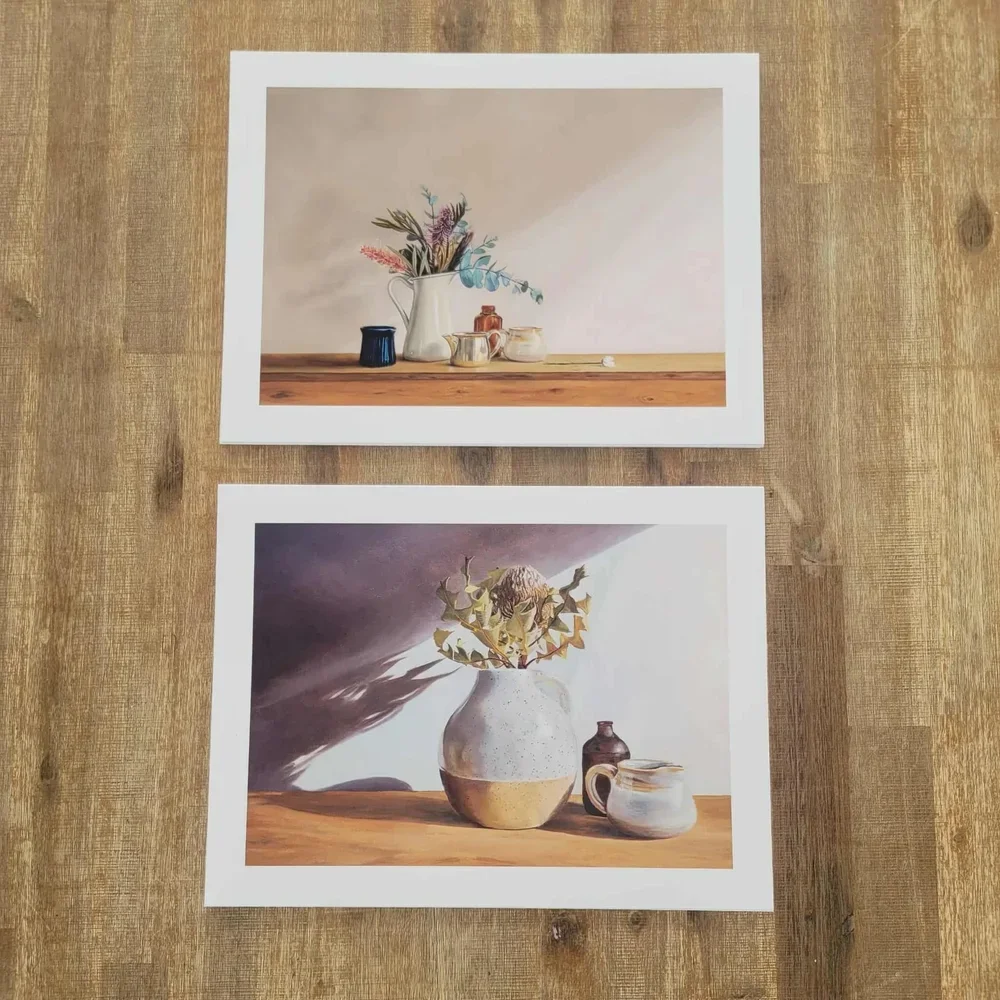
To Dance with the Light celebrates the beauty of light as it falls across everyday objects. Featuring a striking banksia nestled among handmade ceramics and vintage vessels, this archival fine art print captures the warmth, texture and quiet atmosphere that transform ordinary moments into something extraordinary.
From My Easel
Light has always been my favourite subject.
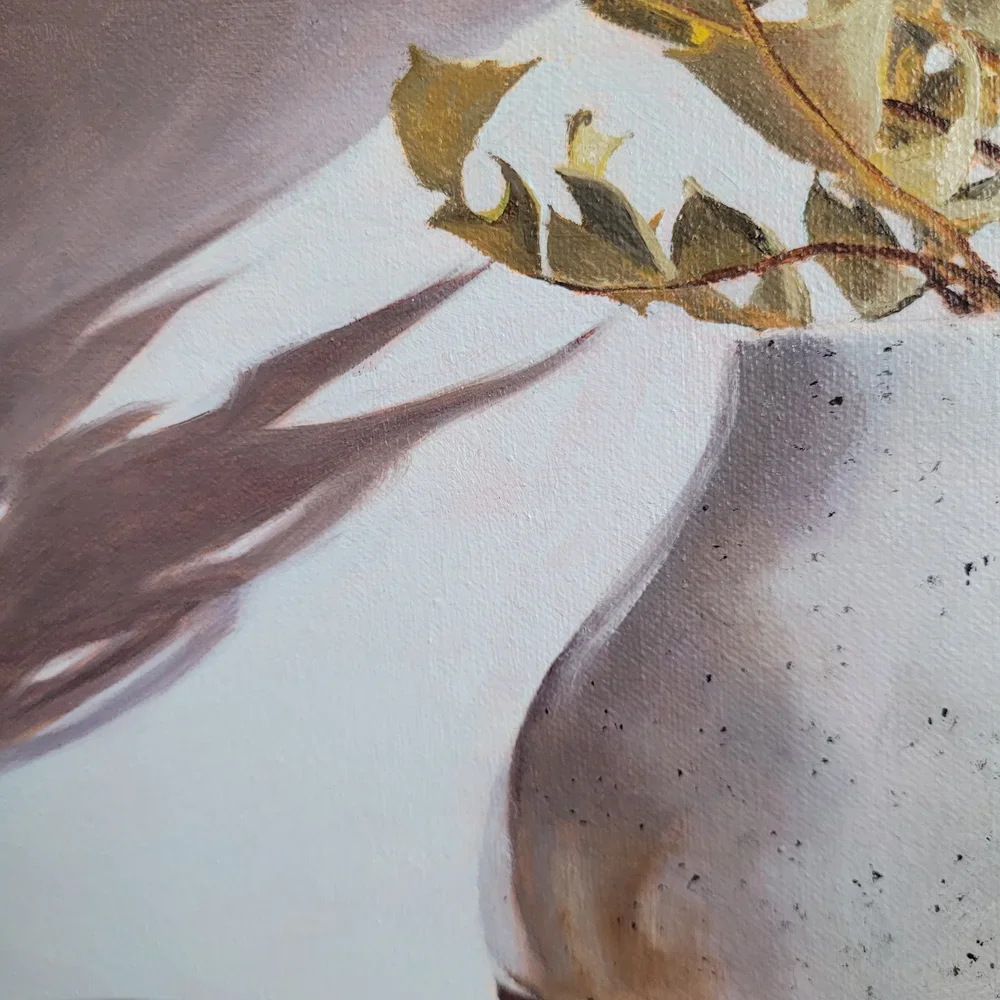
Long before I notice the flowers or the vessels, I notice where the light is falling. The way it catches the rough texture of a clay pot, glows through glass or casts long shadows across a timber surface never fails to draw me in.
For this painting, the banksia became the perfect companion to that dance of light and shadow. Its sculptural form, paired with the collection of earthy ceramics, created beautiful contrasts that changed with every subtle shift of the afternoon sun.
To Dance with the Light is a celebration of those fleeting moments that invite us to pause, notice and appreciate the quiet beauty that surrounds us every day.
About This Composition
To Dance with the Light features Australian banksia arranged among handmade ceramics and vintage vessels, painted in Heidi Emma's signature tonal impressionist style. Rich textures, dramatic light and a muted earthy palette combine to create a timeless still life inspired by the beauty of Australian botanicals and everyday objects.
Artwork Details
Original Medium and Size
Oil on canvas, 30 x 40 cm
Available As
Fine Art Paper Print | Canvas Print
Featuring
Ceramics, Banksia, Shadow
Archival Quality
Museum-quality inks and premium paper or canvas.
-
Canvas Prints
Canvas prints are available as canvas only, stretched canvas, or framed canvas.
A wonderful choice if you're looking for a larger statement piece with a beautifully textured finish.
Paper Prints
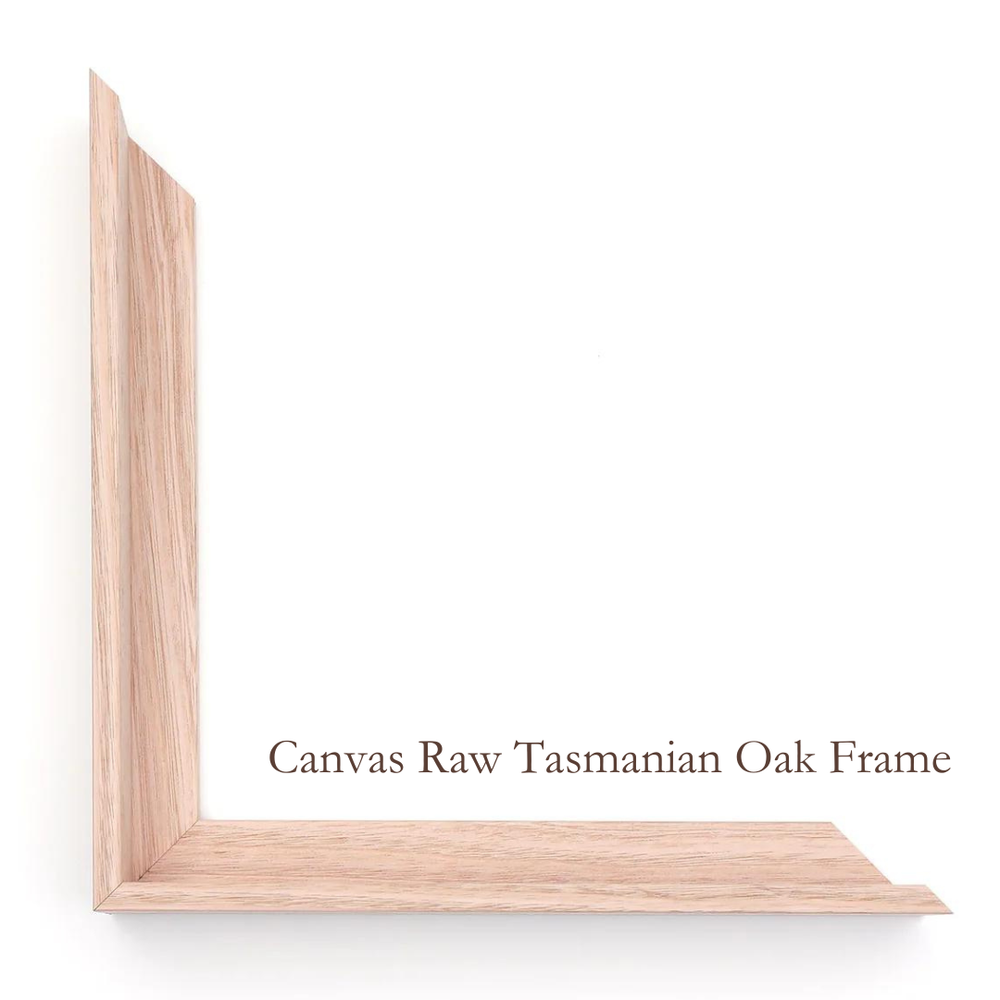
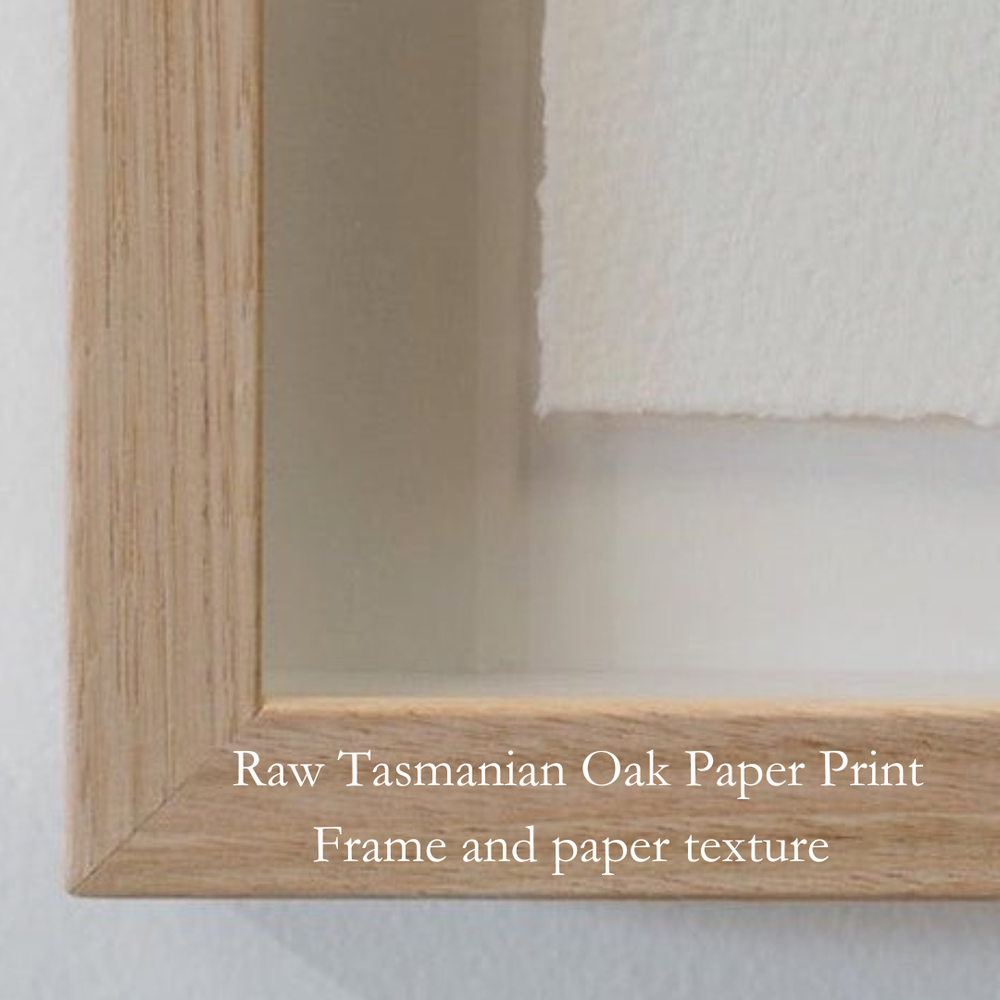
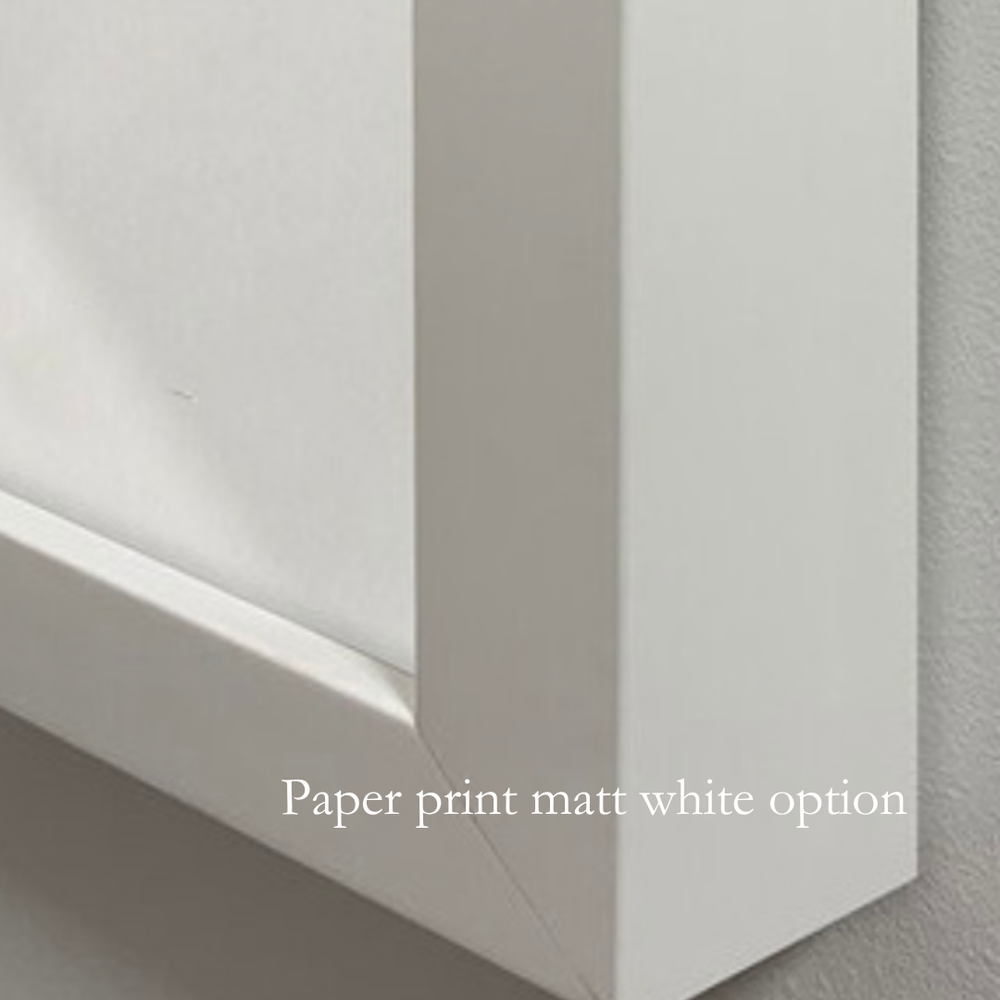
Paper prints are available as print only or professionally framed under glass in your choice of a beautiful raw oak or white frame.
Printed on premium archival fine art paper, these prints faithfully reproduce the colour, detail and texture of the original painting.
Frame Sizes
Canvas frames: Add approximately 2.7 cm to both the height and width of the selected print size. Frames are 5.5 cm deep.
Paper print frames: Add approximately 6 cm to both the height and width of the selected print size. Frames are 4 cm deep.
-
Every Heidi Emma print is accompanied by a personally signed Certificate of Authenticity.
Where a print is part of a Limited Edition, the certificate will also include its individual edition number (for example, 1 of 30).
Each print is personally signed by Heidi Emma. Paper prints are signed on the front in the lower corner, while canvas prints are signed on the back.
-
Every print is professionally produced to order in Australia using archival-quality materials.
Small unframed paper prints are carefully packaged in rigid protective mailers to keep them flat during transit.
Larger unframed paper prints and canvas prints are rolled and shipped in sturdy mailing tubes for safe delivery.
Framed prints and stretched canvas prints require specialised packaging and are shipped via trusted art couriers or professional carriers to ensure they arrive safely.
Please allow approximately 7–10 business days for production before dispatch. Delivery times will vary depending on your location.
If you have any questions about shipping or require a quote for a framed artwork, I'd be delighted to help.
-
To ensure your print lasts for generations, display it away from direct sunlight and areas of high humidity. Handle the paper with clean, dry hands or have it framed soon after arrival for the best protection.
Stretched canvases come sealed for protection. If wiping to dust, please do gently with a clean microfibre cloth. -
Every print is made to order especially for you. If your order arrives damaged or there is a problem with your print, please contact me within 7 days of delivery with photographs of the damage so I can arrange a replacement or suitable solution.
If you have any questions before ordering, I'm always happy to help.